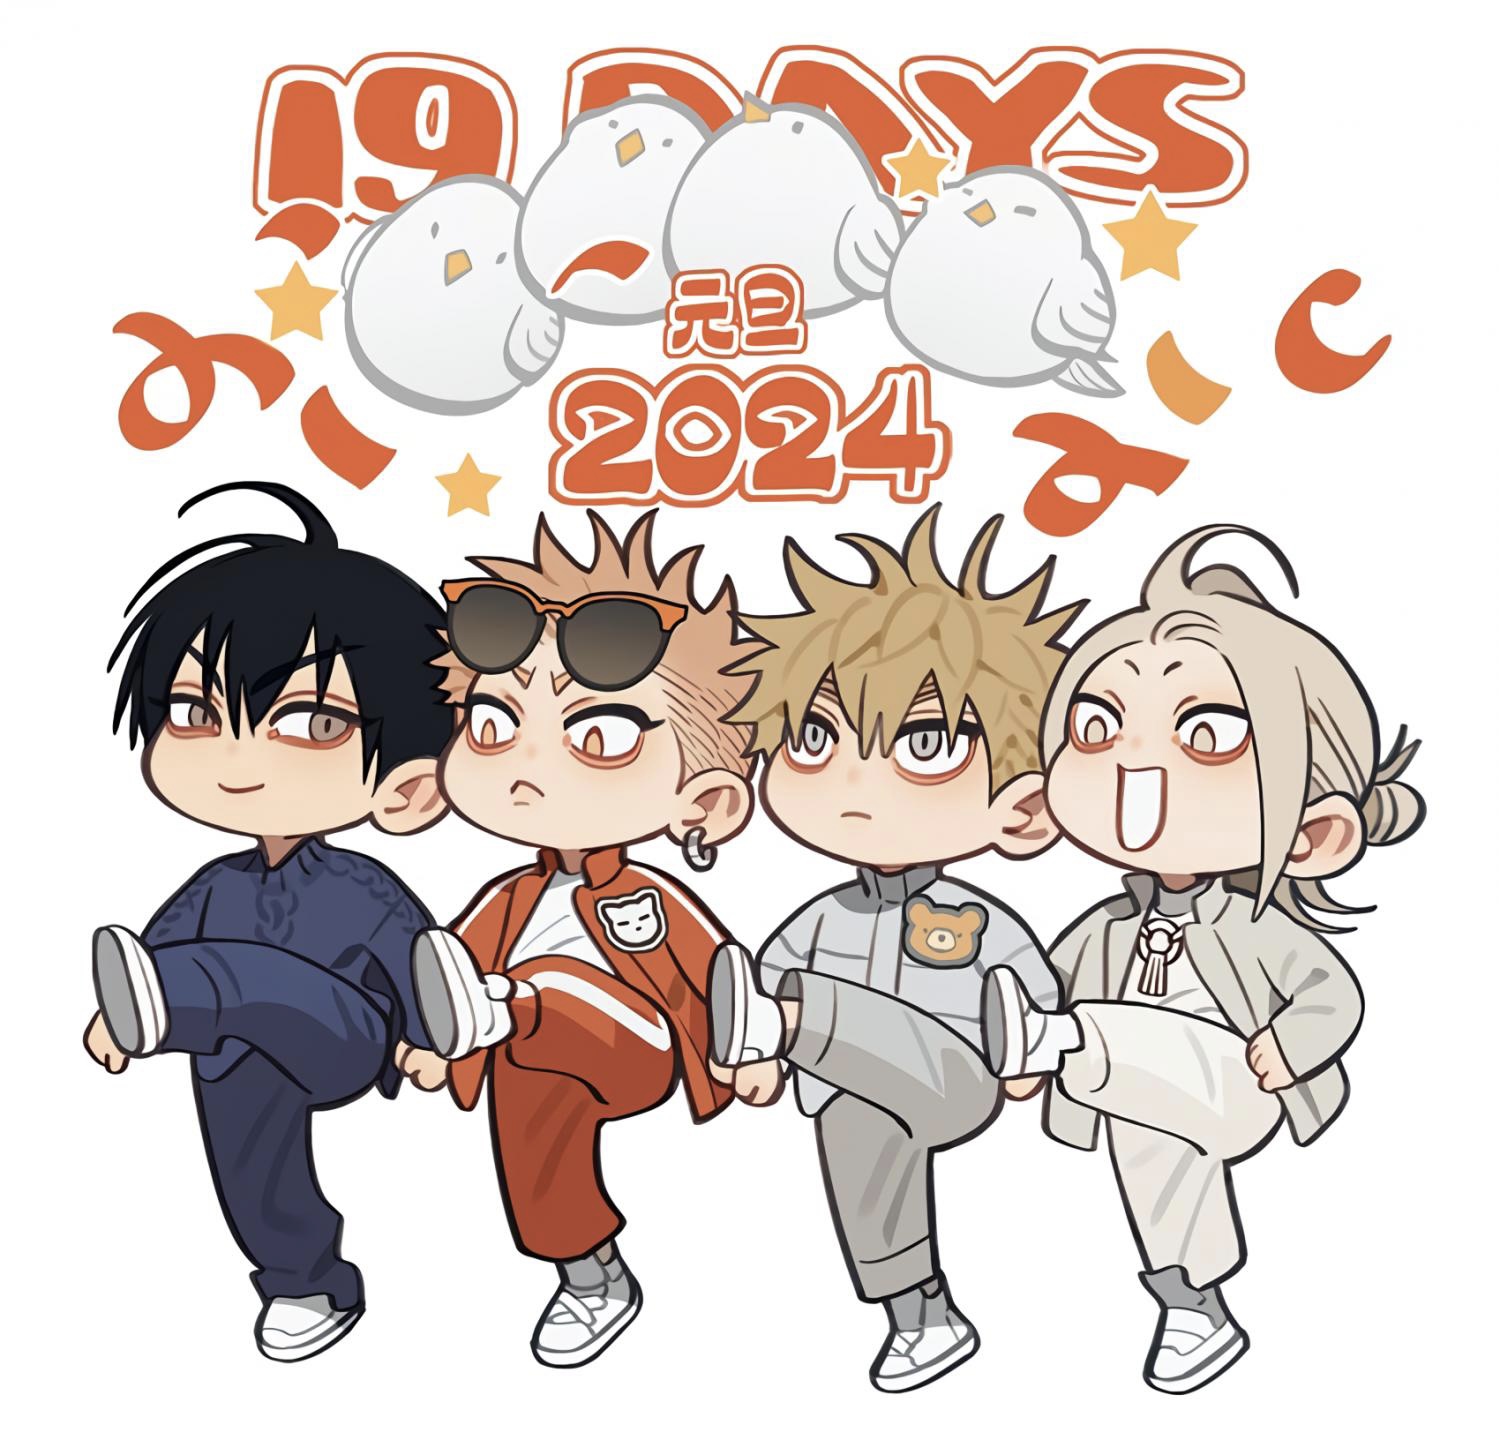
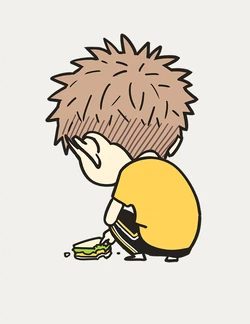
 Another series that had a chokehold on me during middle school was the manhua, 19 days!
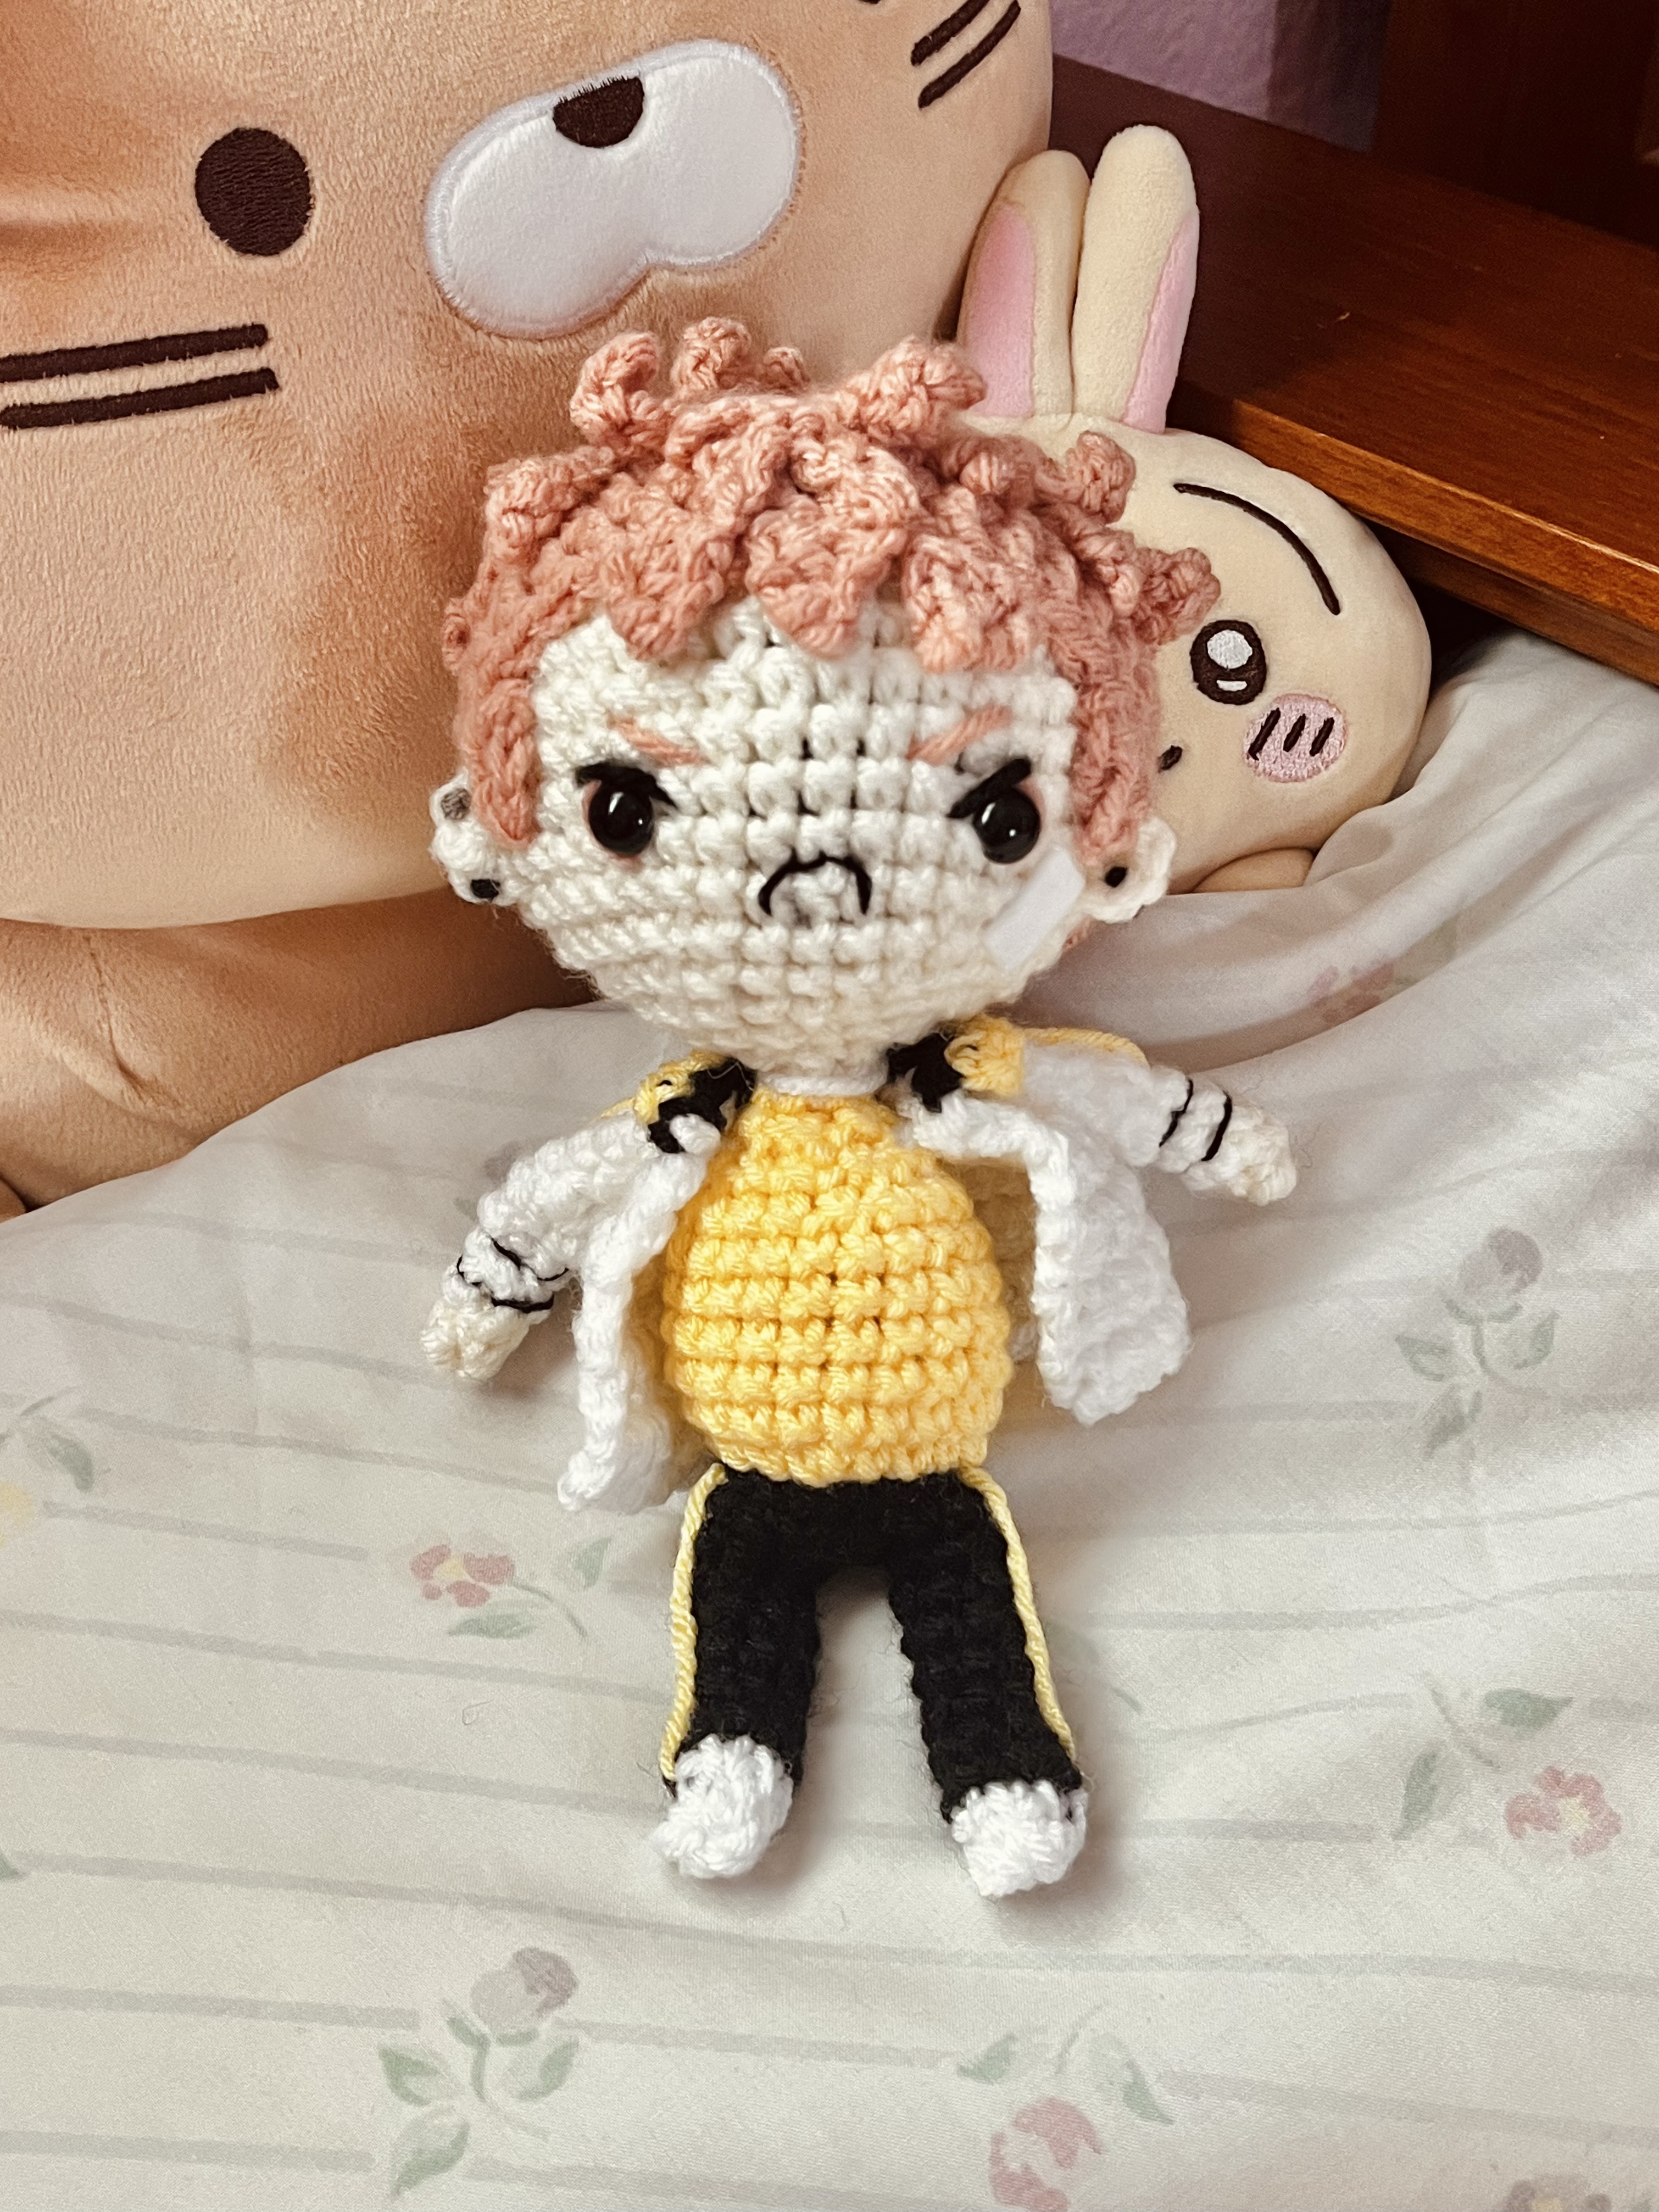
 I’m probably gonna make all 4 of the characters so here’s Mo Guanshan! (`o´)

I loved his character development and I don’t see as much characters with red-ish hair (〃 ̄ω ̄〃ゞ This’ll be the version of him in the later chapters (around chapter 400)
If you haven’t read this before, don’t let the amount of chapters deter you; the chapters are super short! It only took a day or so for me to reread all of the chapter currently out!
🍀 Materials needed: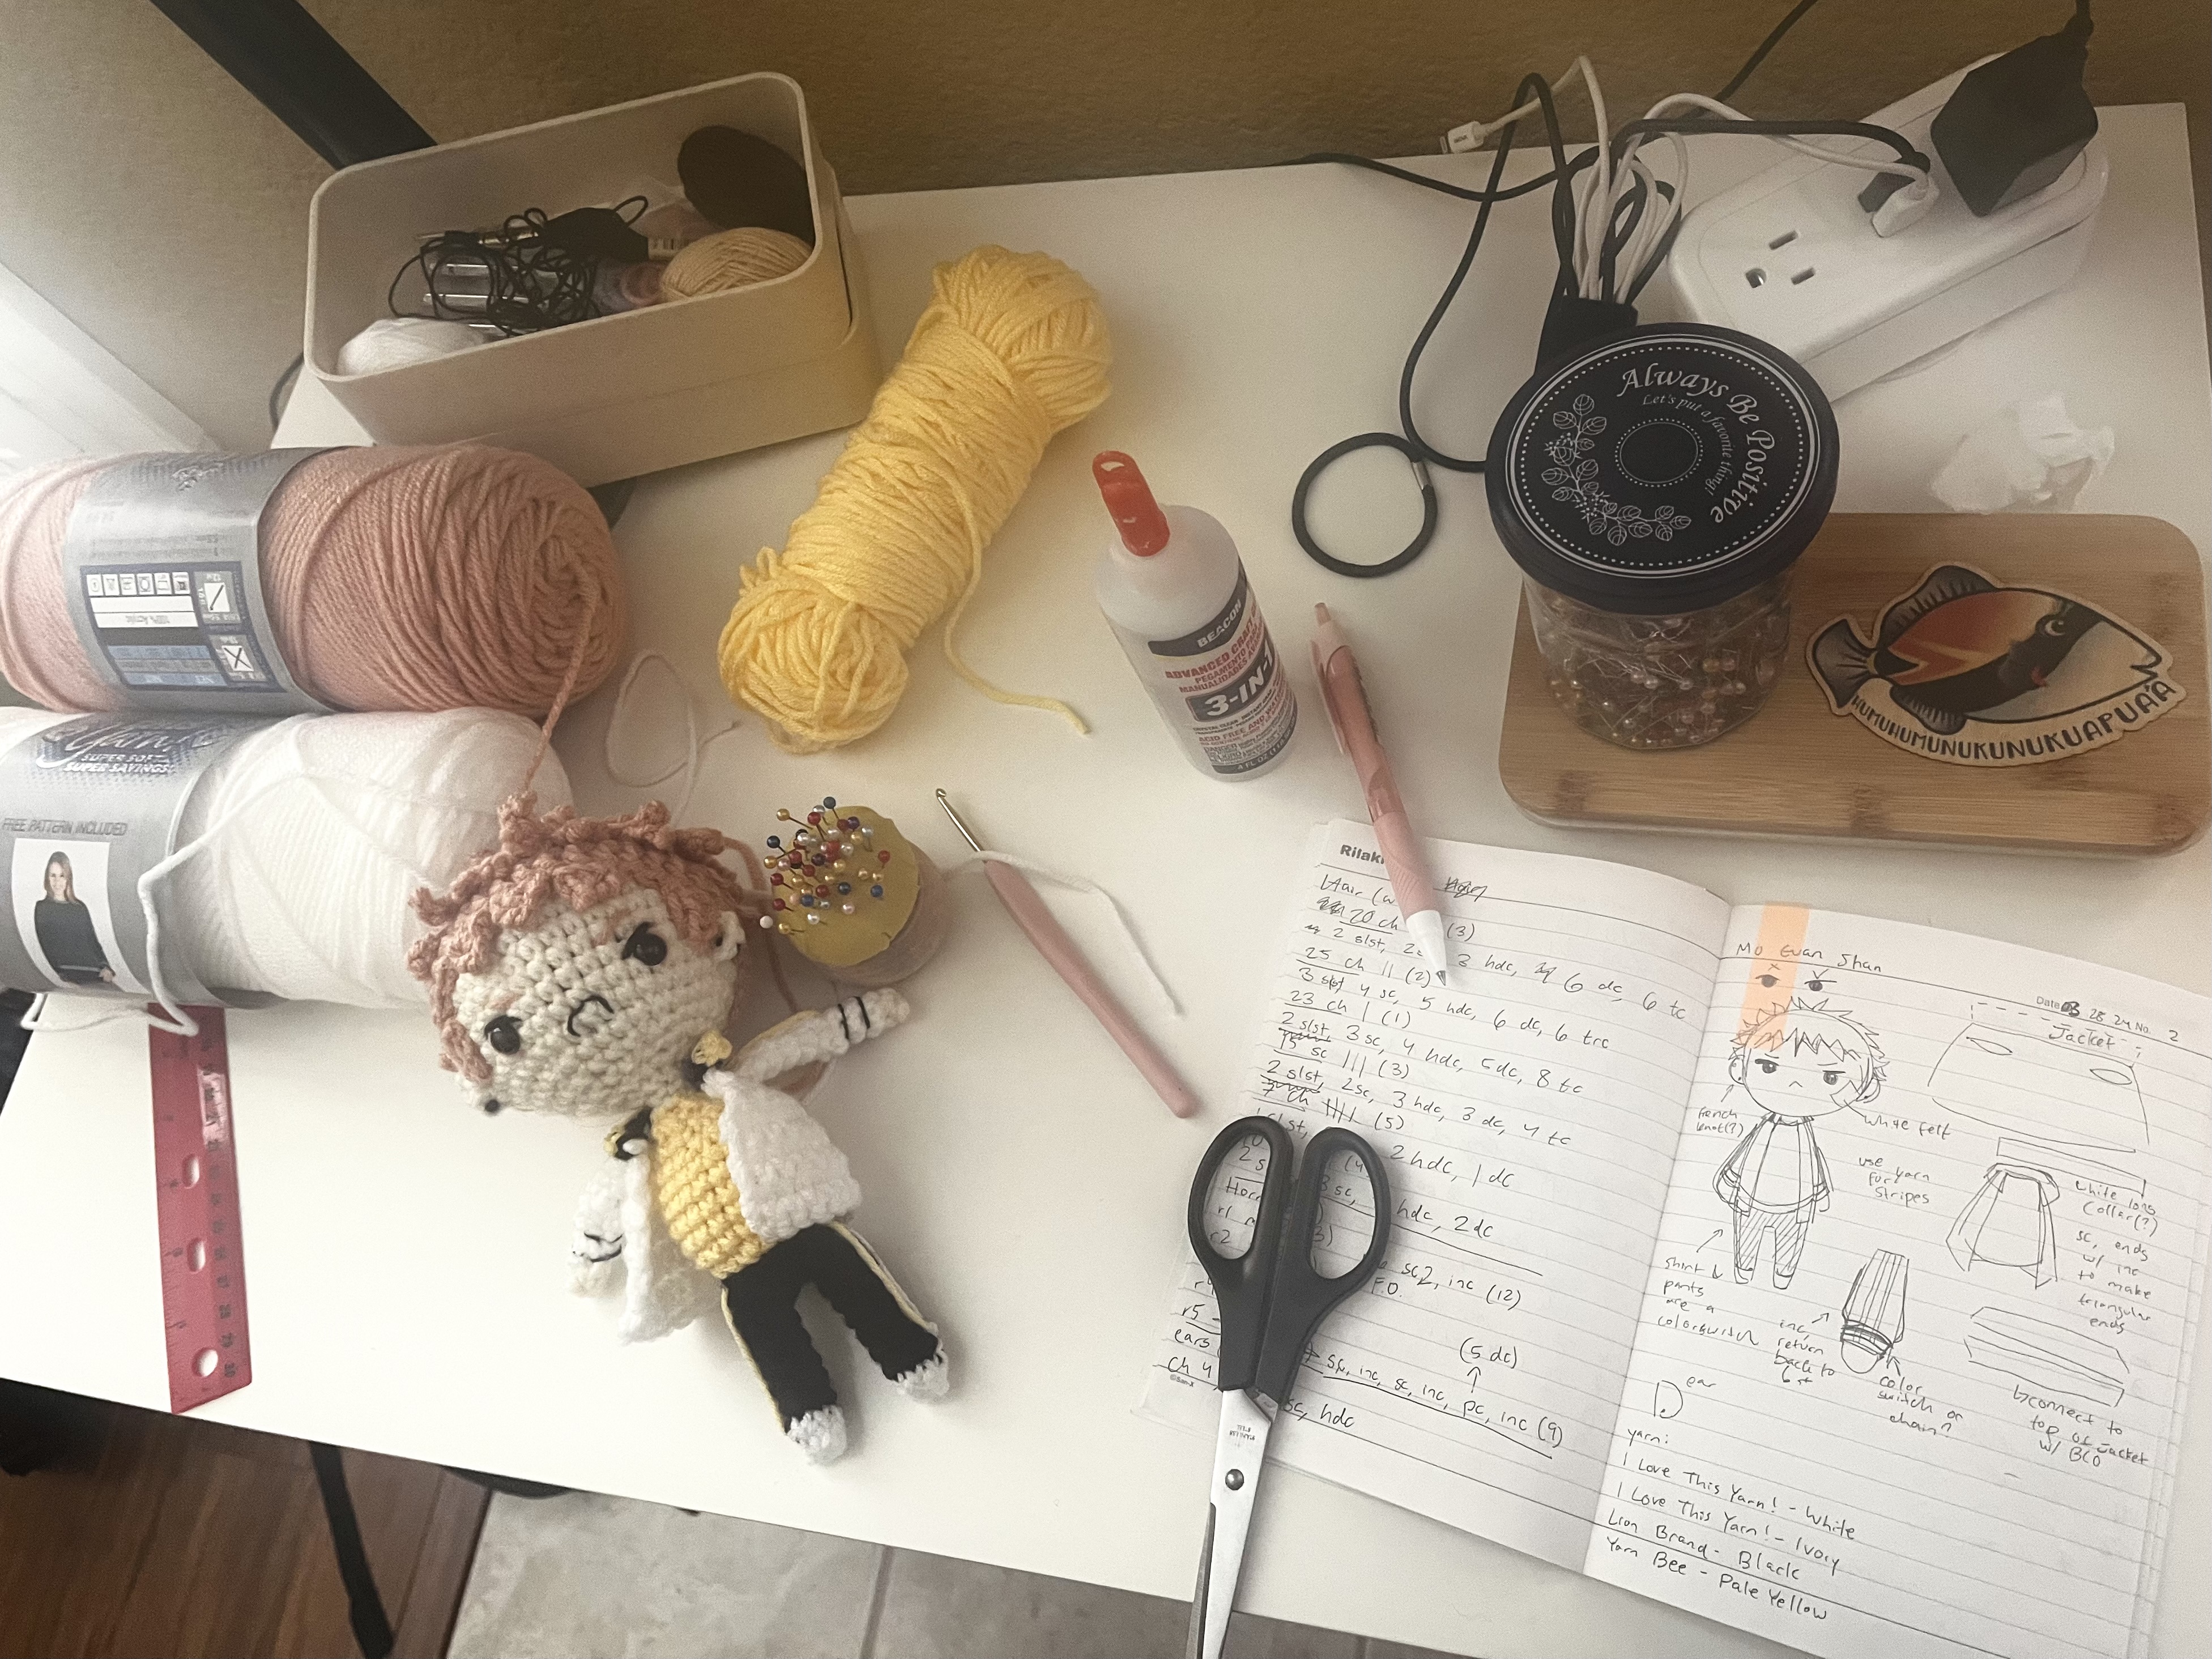
3.5 mm crochet hook (E)
sewing needle
scissors
white felt
fabric glue (optional)
black embroidery thread
yarn (see below)
🍀 Yarn colors you’ll need:
Black
Yellow
Ivory
White
Ashy pink/salmon
🍀 Abbreviation guide:
R#= row number
sc= single crochet
hdc= half double crochet
dc= double crochet
tr= treble crochet
slst= slip stitch
inc= increase
dec= decrease
ch= chain
st= stitch
FLO= front loop only
BLO= back loop only
 ☘️ Head (in ivory)
R1: 6 sc in magic ring (6 st)
R2: inc all around (12 st)
R3: 1 sc, inc (18 st)
R4: 2 sc, inc (24 st)
R5: 3 sc, inc (30 st)
R6: 4 sc, inc (36 st)
R7-13: sc all around (36 st)
R14: 4 sc, dec (30 st)
R15: 3 sc, dec (24 st)
R16: 2 sc, dec (18 st)
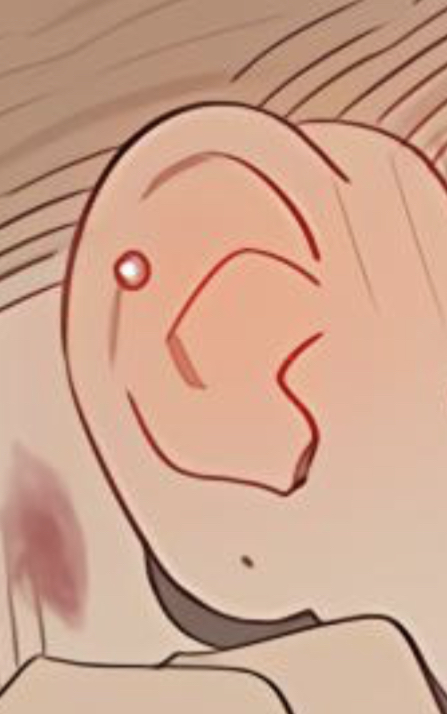
Put safety eyes between R11-12 with 8 sts in between, embroider face
R17: 1 sc, dec (12 st)
Begin stuffing
R18: dec all around (6 st)
Finish stuffing, finish off and leave a tail. Connect body and head.
(*the image is missing his eyebrows but they should be slanted angrily roughly one row above the eyelids, see other images)
☘️ Legs (make 2, starting with white)
R1: 6 sc in magic circle (6 st)
R2: color change to black, sc all around (6 st)
R3-8: sc all around (6 st)
*Finish off if this is the first leg but if it is the second, ch 2 and connect to the first leg, do not finish off and continue to the body.
☘️ Body (continue with black)
R9: Continuing from the two legs, sc all around (16 st)
R10: sc all around (16 st)
R11: color change to yellow, sc all around (16 st)
R12: 3 sc, inc (20 st)
R13-17: sc all around (20 st)
R18: 3 sc, dec (16 st)
R19: 2 sc, dec (12 st)
R20: sc, dec (8 st)
Finish off
☘️ Arms (make 2, starting with ivory)
R1: 6 sc in magic circle (6 st)
R2: color change to white, sc all around (6 st)
R3-4: sc all around (6 st)
R5: FLO sc, inc (9 st)
R6: sc, dec (6 st)
R7-10: sc all around (6 st)
R11: squish and crochet both sides together (3 st)
Finish off, leave a tail and attach to body!
☘️ Jacket (in white)
*this will be worked in rows
R1: ch 14 (13 st)
R2: 2 sc, ch 3, skip 3 st, 3 sc, ch 3, skip 3 st, 2 sc (13 st)
R3: 5 sc, 3 inc, 5 sc (16 st)
R4: 6 sc, 4 inc, 6 sc (20 st)
R5: 2 inc, 16 st, 2 inc (24 st)
R6-11: sc in each stitch (24 st)
Finish off

☘️ Collar (starting in black)
R1: ch 14 (13 st)
R2 color change to yellow, sc across (13 st)
Finish off
*connect the black end of the collar to the top of the jacket by sewing
☘️ Ears (make 2, in ivory)
R1: 4 sc in magic circle (4)
☘️ Hair cap (in salmon)
R1: 6 sc in magic circle (6 st)
R2: inc all around (12 st)
R3: 1 sc, 1 inc (18 st)
R4: 2 dc, 1 inc of dc (24 st)
R5: 3 dc, 1 inc of dc (30 st)
R6: 4 dc, 1 inc of dc (36 st)
R7-8: dc in each stitch around (36 st)
Finish off with 2 hdc, then 2 sc, and then 2 slst (2 hdc, 2 sc, 2 slst). Weave in the ends.
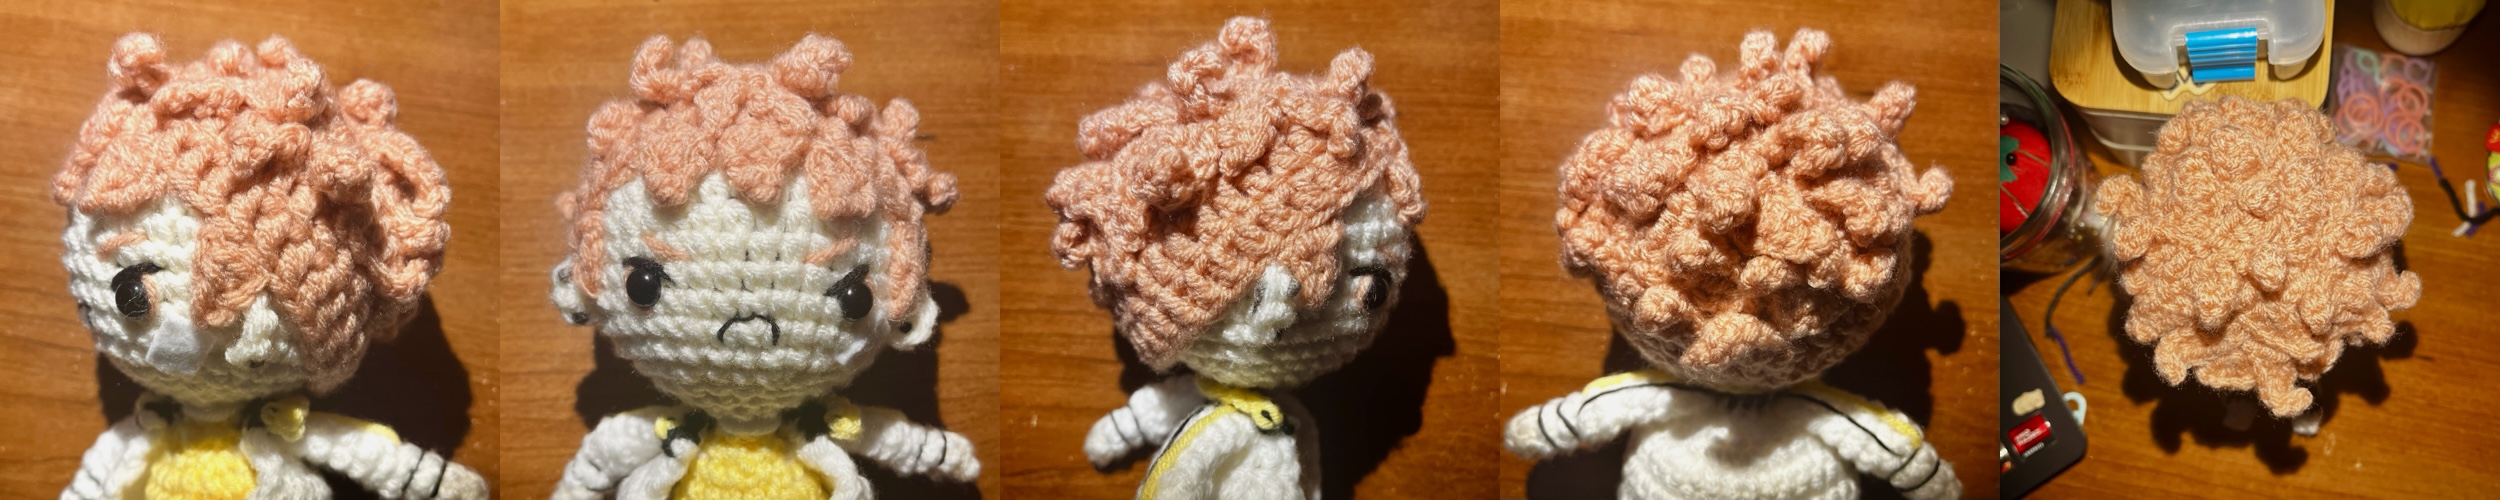
☘️ Hair (in salmon)
Refer to images below as to where to put the hair strands, a lot of this step will depend on your own creativity (make as you see fit!)
Make: (these are what I used but feel free to alter amount/chain)
2 ch (2)
2 sc
4 ch (9)
2 sc, hdc
7 ch (~36)
slst, 2 sc, 2 hdc, dc
🍀 Assembly
2. Attach head, ears and arms to the body
3. Embroider the face onto the head if not already done
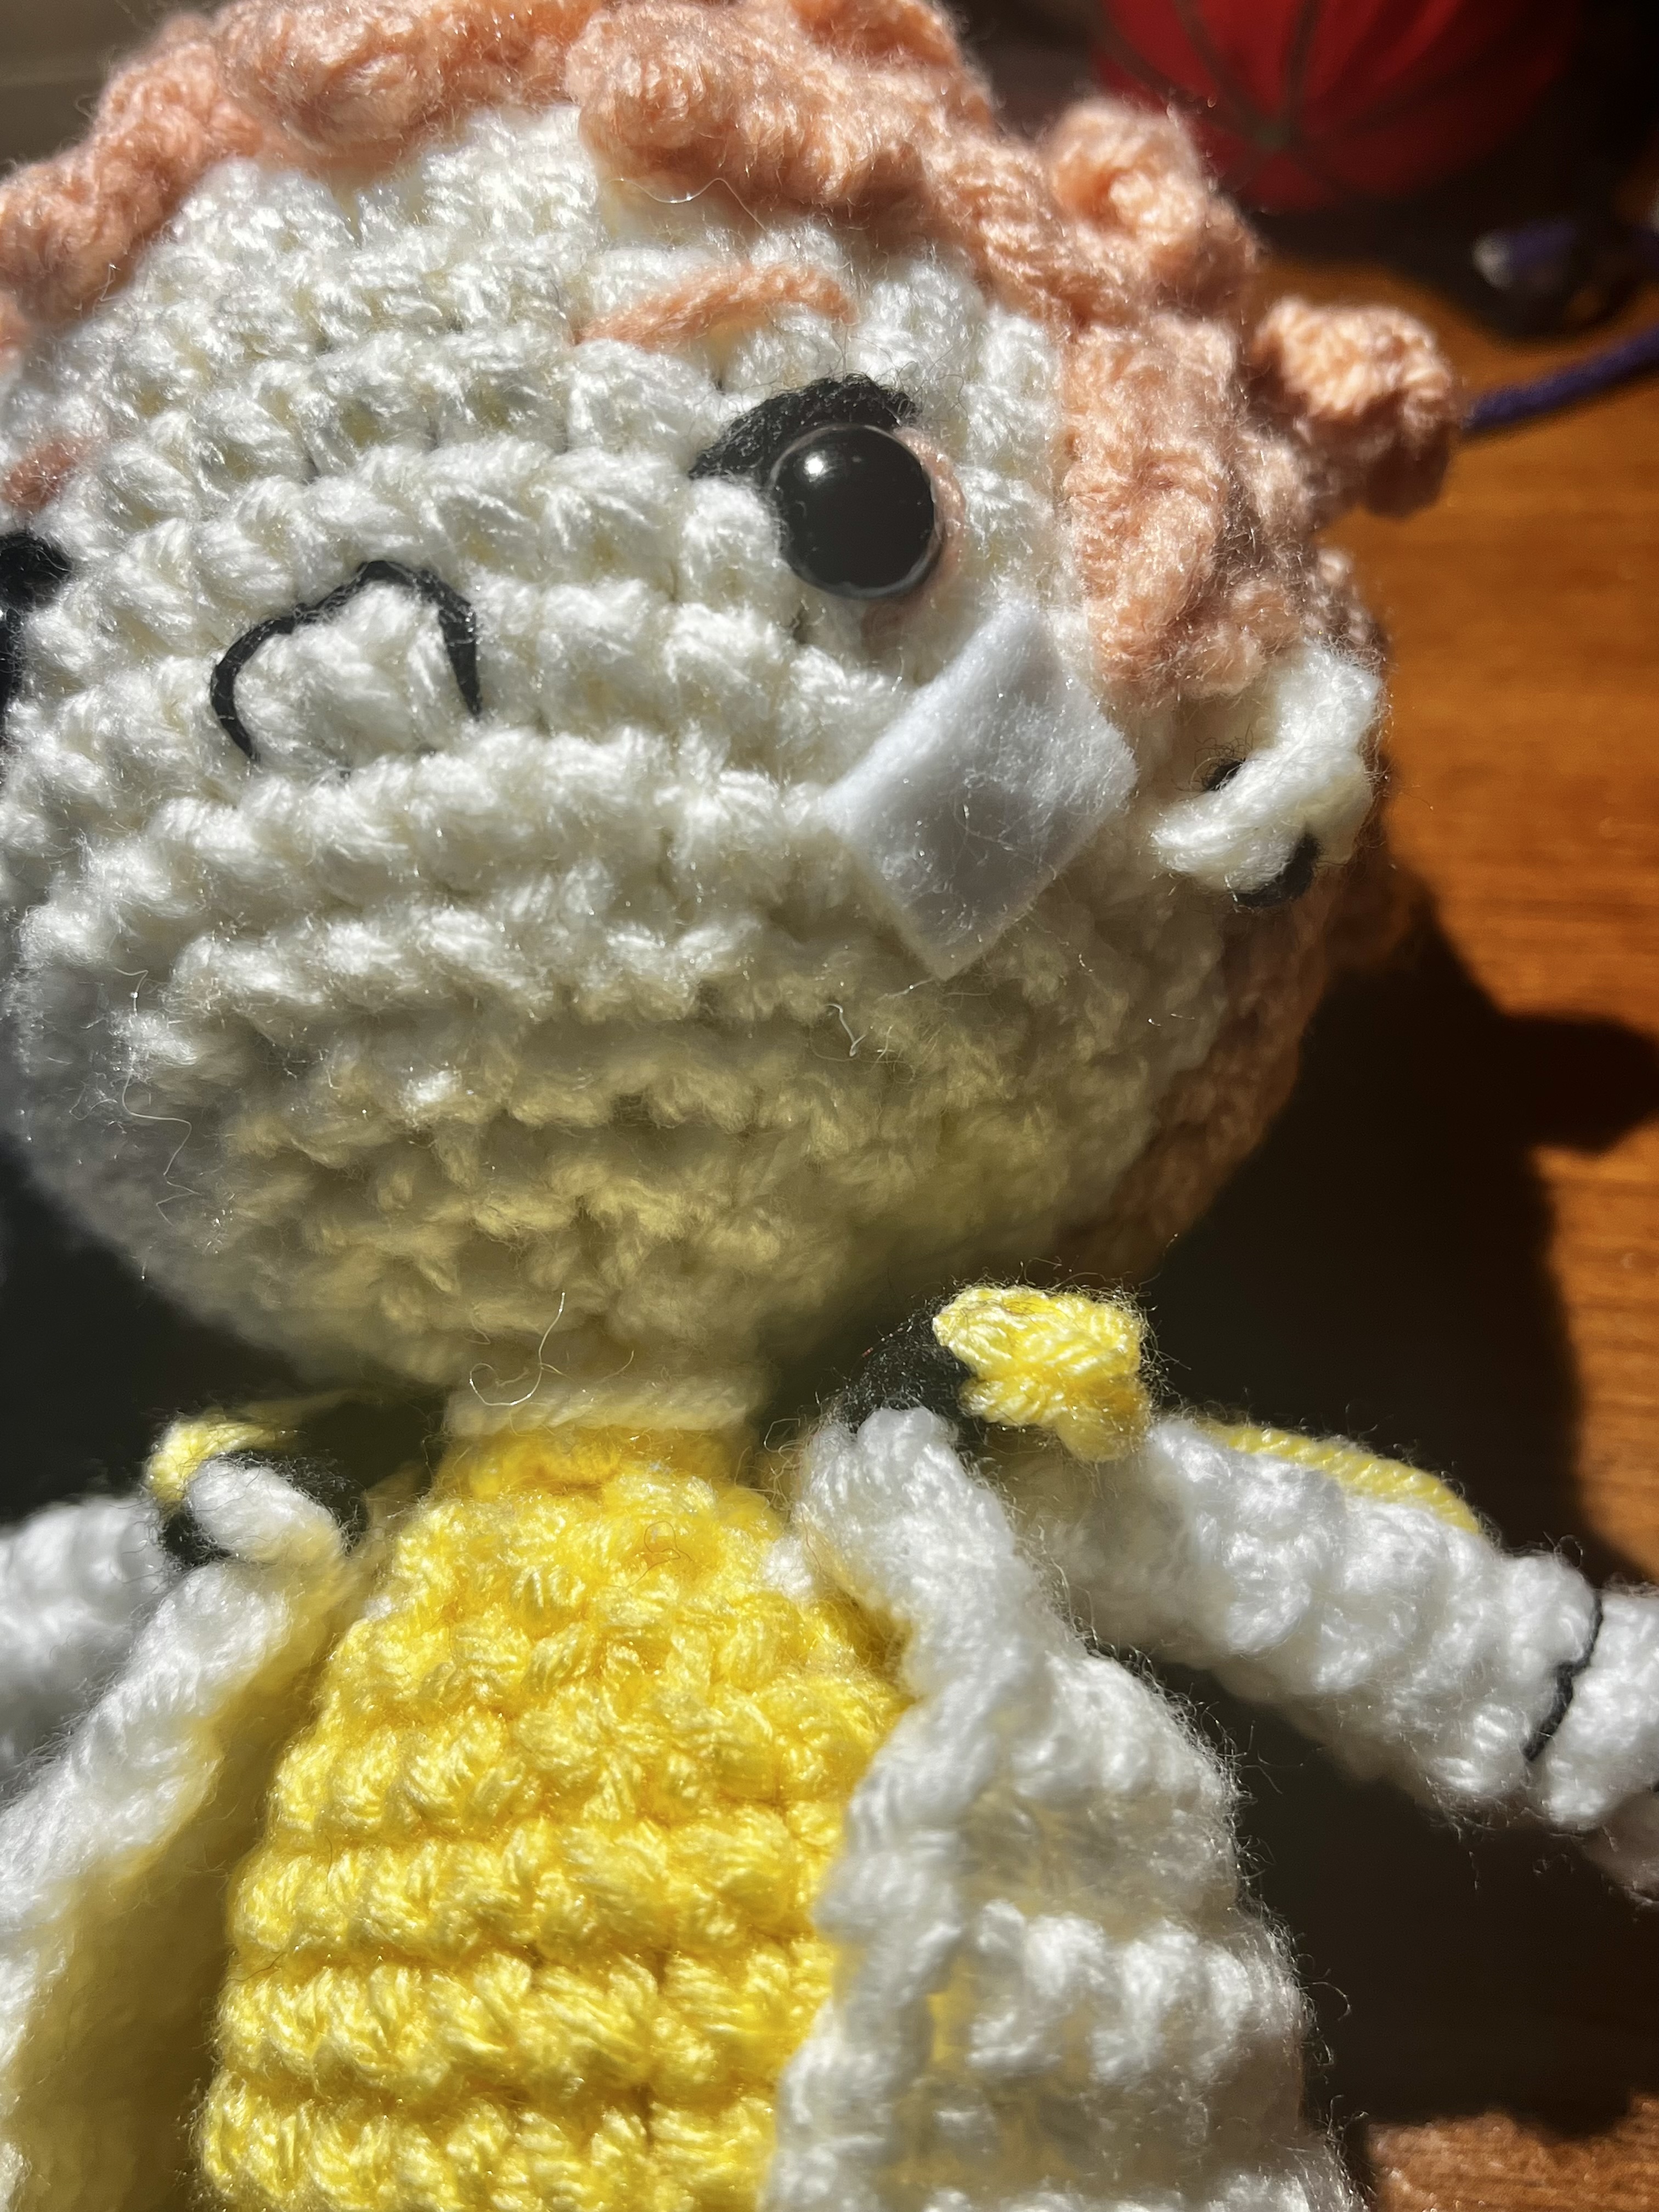
4. Glue or sew a white rectangle piece of felt onto his face and wrap white yarn around his neck to replicate bandages
5. Put jacket on
6. Place hair cap on head and begin placing the hair chains
7. Glue or sew the hair chains in place
And you're done! Hope this pattern made sense (’∀`)ゝ” if you're confused feel free to message me on Ravelry or comment!


No comments:
Post a Comment